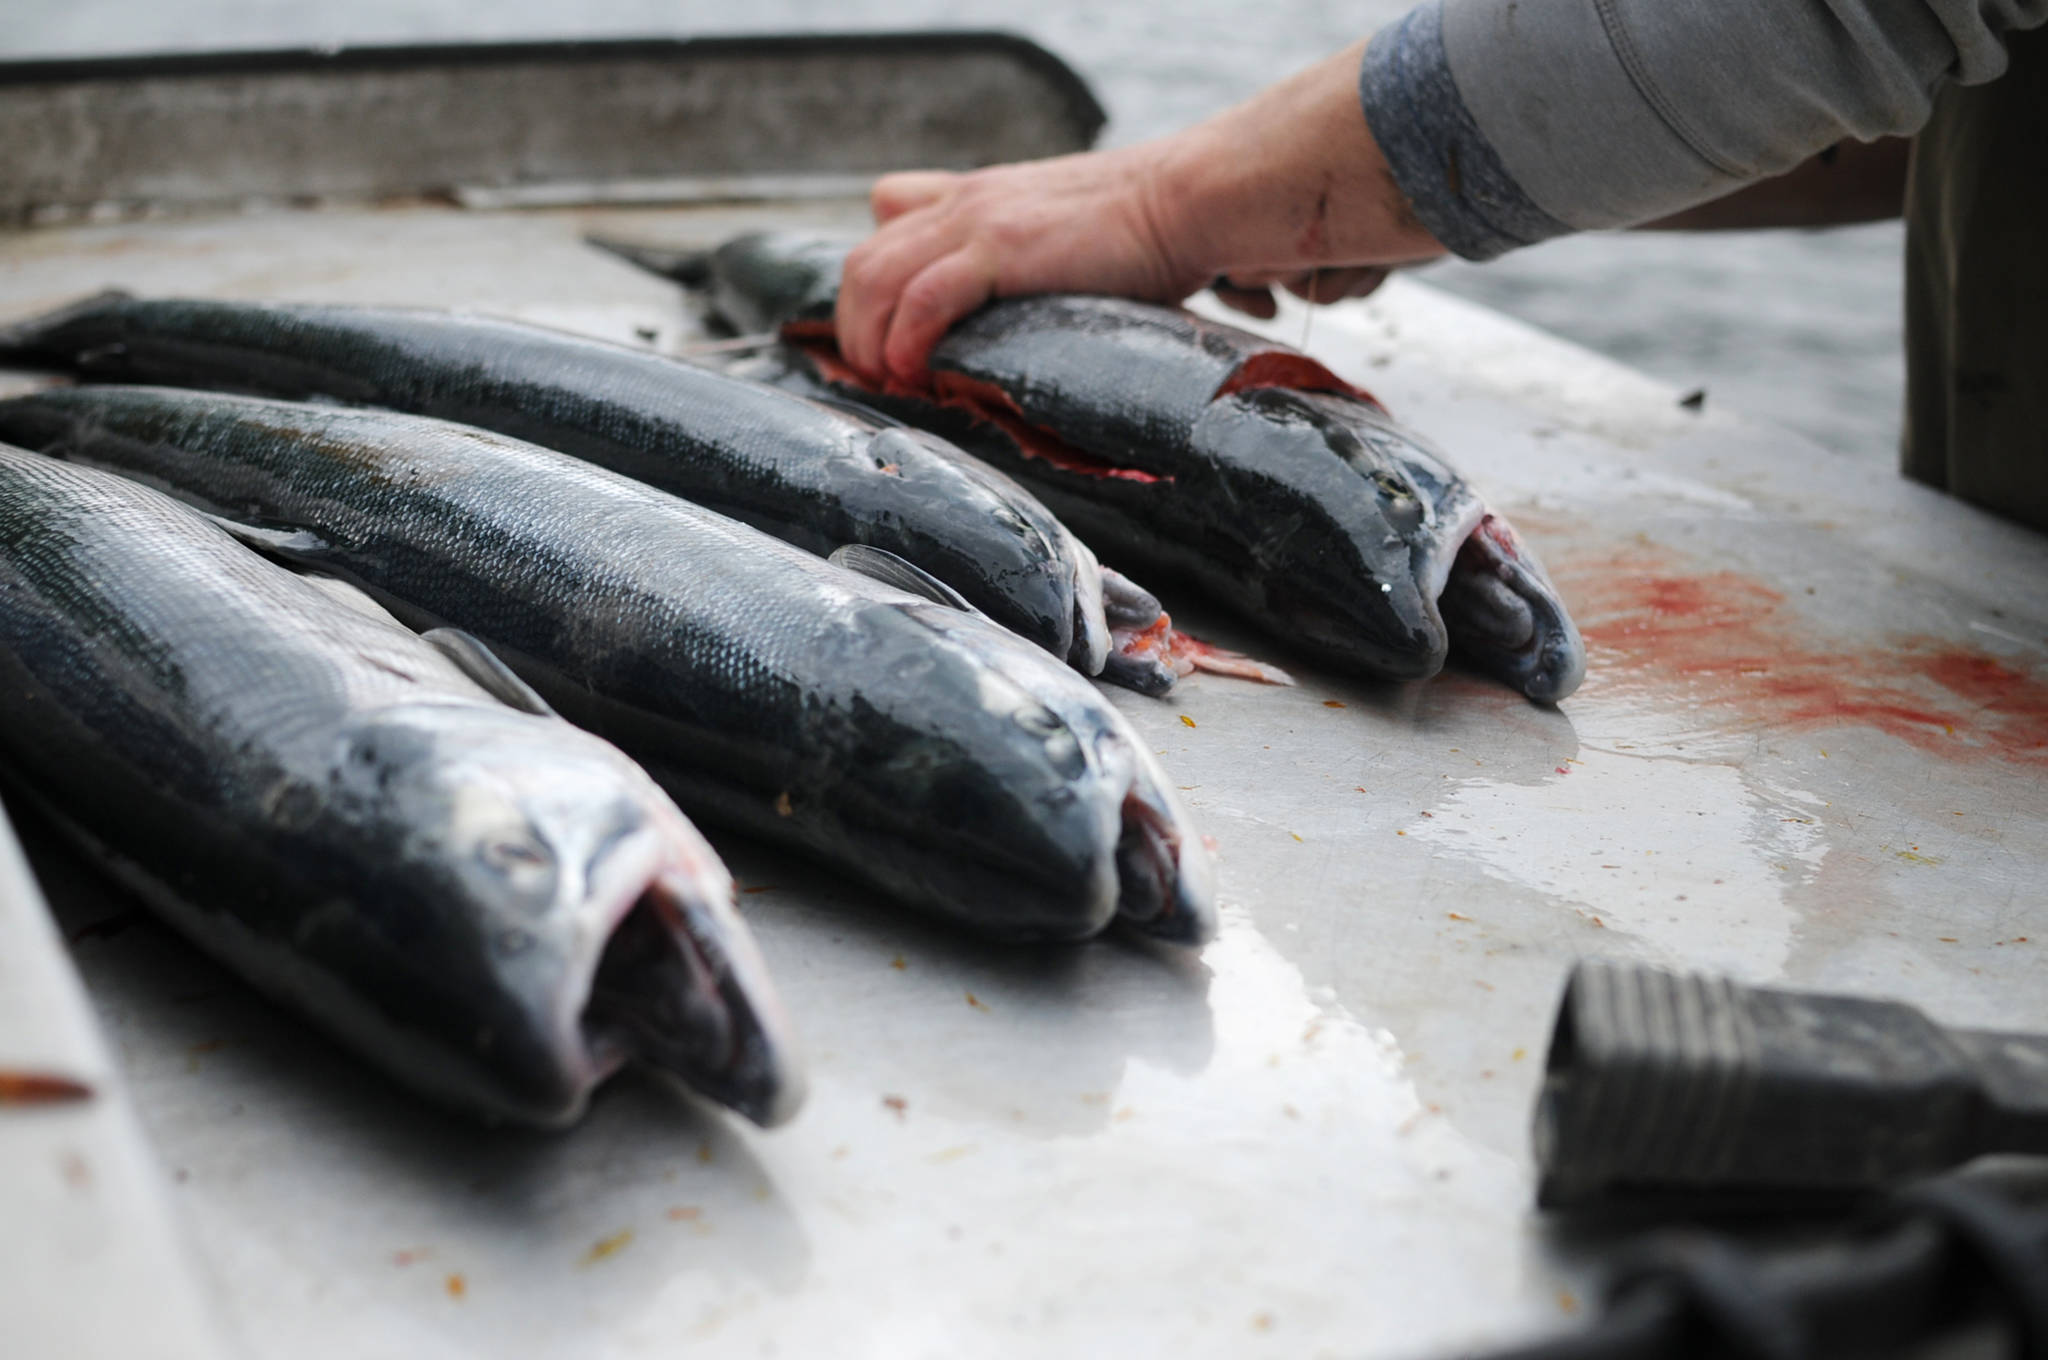
If the fishing is good, it’s important to keep in mind how to preserve salmon for when the fishing is bad.
Canning provides a good option to have quality salmon, potentially for years after the fish is caught, but the process does involve some preparation.
“Well, first of all, you need to start with good fish,” said Linda Tannehill, the health, home and family development extension agent with the Cooperative Extension Service. “Fish that’s been cared for properly at the site, whether it was caught and bled and iced, but it should at least be kept out of the sunlight for sure.”
After processing the fish, it may be frozen and then canned later. If processing frozen fish, it should be thawed first and rinsed in cold water. Adding about 2 tablespoons of vinegar per quart of water is also recommended to remove slime, according to the Cooperative Extension Service’s guide “Canning the Catch.”
“From there, make sure your canning equipment is good to go,” Tannehill said. “The canner itself should be in good condition”
A pressure canner is required for processing fish, since the high temperatures reached under pressure ensure a safe product.
The Cooperative Extension Service, located at 43961 Kalifornsky Beach Road in Soldotna, offers free dial gauge testing for those with dial gauges.
“We really want people to be assured that their fish is safely canned,” Tannehill said. “So we offer (dial gauge testing) for free and it takes just a few minutes. The biggest challenge is getting to town.”
Once the canner has been checked, it’s important to be prepared with clean mason jars and new, two-piece, self-sealing lids. The Cooperative Extension Service recommends 1-pint, straight-sided mason jars for pressure canning.
The jars should be washed in hot, soapy water and then rinsed before canning.
“From there, it’s being sure you have allowed yourself enough time,” Tannehill said. “Don’t try to do this process when you are super tired. It’s about a three- to four-hour process by the time you get the fish ready. … If you start at 8 p.m., you can be assured you’ll be up until midnight.”
The fish should be packed into the can with the skin out with 1 inch of unfilled space between the sealing edge and the top of the fish.
“Run a plastic knife around the inside of the jar to align the product; this allows firm packing of fish and helps in even heat distribution during processing,” according to the Cooperative Extension Service. “For most fish, no liquid, salt or spices need to be added, although seasonings or salt may be added for flavor (1 ⁄2 teaspoon salt per pint, or amount desired).”
Then, attach the jar lids and rings and tighten them per the manufacturer’s instructions.
“This year, for some reason, there have been a lot of canners that boil dry,” Tannehill said. “What happens, is the pressure drops immediately, so if they haven’t done 100 minutes and the pressure drops, you’ll have to start completely over.”
To prevent a boil dry, make sure to start with 2 to 3 inches of water in the canner.
“A lot of people think that’s a lot of water, but you want to be sure you have enough water in there so it doesn’t boil dry,” Tannehill said. “And if people aren’t paying attention, it could ruin their canner. … It’s an odd year that it’s happening so often but put that 2 to 3 inches of water in the canner before the rack and jars.”
Once the water is added, the rack should be put in, followed by the cans, before fastening the canner cover securely, but without closing the lid vent.
Then, heat the canner until steam comes through the open vent in a steady stream, according the “Canning the Catch.”
By allowing steam to escape for 10 minues, air is removed from inside the canner so the temperature is the same throughout the canner. Once that’s done, close the vent and turn the heat on high.
“When the pressure reads 11 pounds per square inch on the dial gauge or the 10-pound weighted gauge begins to jiggle, adjust the heat to maintain a steady pressure and begin the timing process,” the Cooperative said. “For safety’s sake, you must have a complete, uninterrupted 100 minutes at a minimum pressure of 11 pounds for a dial gauge or 10 pounds for a weighted gauge.”
If the pressure drops, the timer gets set back to zero and the whole process has to start again.
At the end of the 100 minutes, let the pressure drop to zero naturally and remove the jars carefully. The Cooperative warns not to tighten lid rings when they are first out of the canner. The jar lids will be completely sealed after 12 hours, shown by the downward curved lid in the middle that does not move if pressed down.
The final step is to wash the jars and label them with the contents and processing date and the canned fish is ready to enjoy, whether in a week or in a year.
Reach Kat Sorensen at kat.sorensen@peninsulaclarion.com.

